Following these steps, you will see how easy will that be.
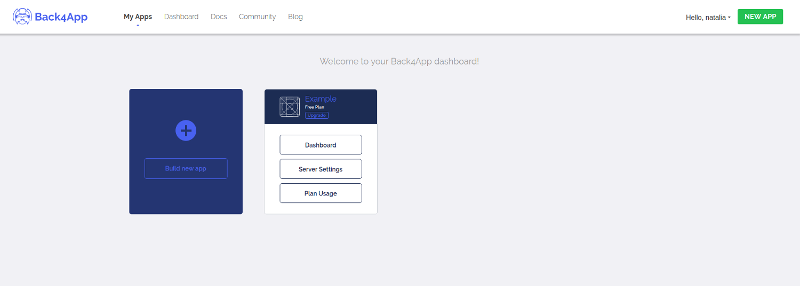
1 - Let's start with your Login at Back4App. After successfully logging, you will enter the page on which you can see your apps, like the example below:
2 - Click on 'Dashboard'. Select the class that you want to upload the file.
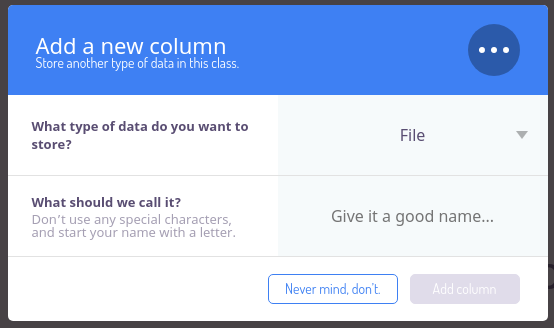
2. 1 - If your class doesn't have a column to upload with the type 'File', you'll need to create one. After then, click to Add a new column, select the option File like the example below:
2.2 - If your class already have a column type with the type 'File', you can jump to the next step.
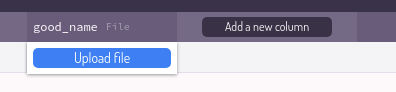
3 - Now, you only need to click two times at the field that you want to relate the image to the object (row). After, a button will appear with the content 'Upload file'.
And now, it's ready! With these simple step-by-step instructions, you can relate images to objects!
If you need any further information, feel free to contact us!
Comments
0 comments
Please sign in to leave a comment.