Now you are going to learn how to use Back4App’s Webhosting. So, let’s follow the steps below:
1. Click on App Settings > Server Settings > Web Hosting and Custom Domains.


2. Enable 'Activate Back4app Hosting' box.

3. Insert a valid subdomain name and after that click on 'Save' button
Ready! Now, you have a subdomain at Back4App :)
Extra: How can I create a static page?
You can follow the steps below to create a static page!
1. Go to Dashboard > Cloud Code > Functions & Web Hosting.

2. You’ll see the Cloud Code page. This is where every page is uploaded. Now, we have to upload the files to the public folder.
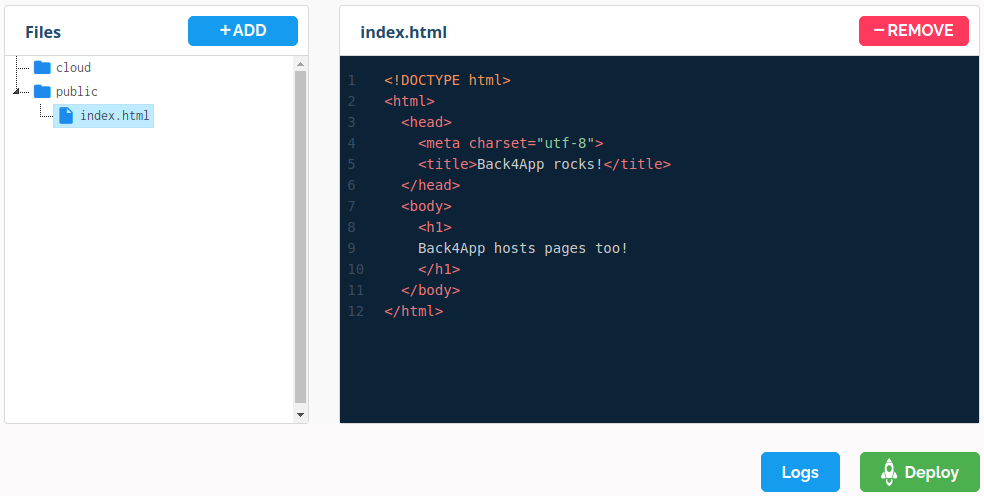
Before doing that, let’s create a simple file named ‘index.html’ that looks like this:
<!DOCTYPE html>
<html>
  <head>
    <meta charset="utf-8">
    <title>Back4App rocks!</title>
  </head>
  <body>
    <h1>
    Back4App hosts pages too!
    </h1>
  </body>
</html>
Upload this file to the Cloud Code page using the button "+ ADD" available. Once uploaded, the file will be available in the public folder:

3. After that, just click on "Deploy" button.
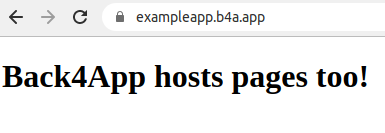
And it's done! Go visit your endpoint to see the result :)
<the subdomain created>.b4a.app

If you need any help with Cloud code, we recommend you to check our documentation.

Comments
0 comments
Please sign in to leave a comment.